Getting Started
Quick demo
You do not need a development board to see RMP run.
x86 Linux
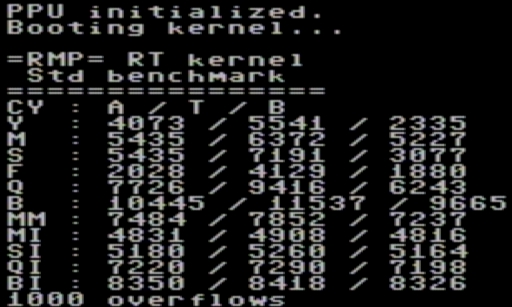
The 32-bit Linux port lives in Project/GCCMF-X86L. Build it with its Makefile and run the resulting binary; RMP uses ptrace and signals to implement context switches, so it is not fast, but every primitive works and the full benchmark output appears on the console.
Famicom / NES
Download RMP.nes and load it into any NES emulator that supports the Namco 163 mapper (iNES mapper 019). A flash cartridge with a Namco 163 chip also works on real hardware. The mapper is required because its readable IRQ timer is what RMP uses to measure cycles.
Prerequisites
- A supported development kit. STM32 Nucleo and MSP430 Launchpad boards are the easiest starting points.
- A supported toolchain: GCC/Clang-LLVM, Keil uVision 5, IAR EWARM, Code Composer Studio, or MPLAB X. See Supported Ports.
- Some projects need the vendor HAL packages from M0A00_Library.
Do not use QEMU
QEMU does not reproduce the interrupt and timing behaviour these ports rely on, and some demos simply do not run correctly under it. Use real hardware or the Linux port.
Repository layout
M5P01_Prokaron/
├─ Include/
│  ├─ rmp.h                  umbrella header
│  ├─ Kernel/rmp_kernel.h    the complete public API
│  ├─ Platform/              one directory per architecture family
│  │  ├─ A6M/ A6M_RVM/       Cortex-M0/M0+
│  │  ├─ A7M/ A7M_RVM/       Cortex-M3/M4/M7
│  │  ├─ A8MB/ A8MM/         Cortex-M23 / M55
│  │  ├─ A7R/                Cortex-R4/R5
│  │  ├─ RV32P/ RV32P_RVM/   RISC-V
│  │  └─ AVR/ MSP430/ RL78/ C28X/ DSPIC/ MP32P/ M6502/ UNSP/ X86L/
│  └─ Test/                  per-chip benchmark and WCET headers
├─ Source/
│  ├─ Kernel/rmp_kernel.c    the kernel, memory manager, widgets and FXAA
│  ├─ Hook/                  init hooks, including the RVM variant
│  └─ Test/                  benchmark, coverage and lwIP tests
├─ Project/                  fifty-odd ready-to-open build projects
└─ Document/                 user manuals and demo assets
Compilation
There is no separate build system to install. Every folder under Project/ is a complete project for one chip and one toolchain:
- Keil — open the
.uvprojxfile underRVMDK-*. - IAR — open the
.ewwworkspace underEWARM-*. - GCC — run
makein aGCCMF-*folder; the Makefile is self-contained. - CCS / MPLAB / vendor IDEs — import the project from the matching folder.
If a project complains about missing headers, it is almost always a vendor HAL dependency; fetch the package from M0A00_Library.
Running the tests
Download the image and start a debug session. Some demos blink an LED to show scheduler activity; in that case fill in the LED wrapper functions for your board. The benchmark output is printed through the logging macros (RMP_LOG_*), which write to whatever console the port provides.
To use the graphics library, see the user manual — the widget toolkit is compiled in by a macro and needs a framebuffer supplied by the application.
Your first thread
#include "rmp.h"

static volatile struct RMP_Thd Thd_1;
static rmp_stack_t Stack_1[512];

void Func_1(void* Param)
{
    RMP_LOG_S("Parameter passed is ");
    RMP_LOG_H((ptr_t)Param);
    RMP_LOG_S("\r\n");
    while(1)
    {
        RMP_Thd_Delay(30000);
        RMP_LOG_S("Delayed 30000 cycles\r\n\r\n");
    };
}

void RMP_Init_Hook(void)
{
    RMP_Thd_Crt(&Thd_1, Func_1, &Stack_1, sizeof(Stack_1),
                (void*)0x12345678, 1, 5);
}
RMP_Init_Hook runs after the kernel has initialised but before scheduling starts, which is where all threads, semaphores and queues are created.
Threads talking to each other
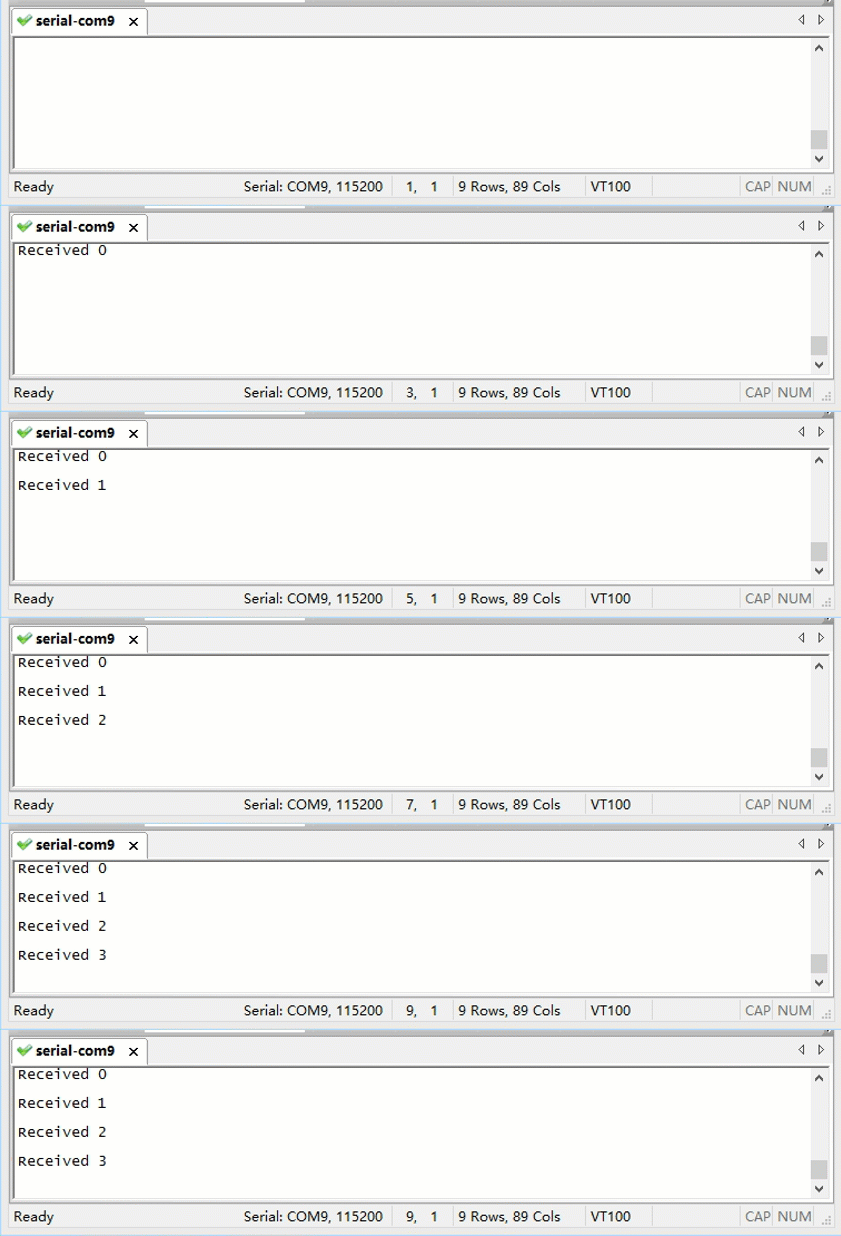
void Sender(void* Param)
{
    ptr_t Time = 0;
    while(1)
    {
        RMP_Thd_Delay(30000);
        RMP_Thd_Snd(&Thd_2, Time, RMP_SLICE_MAX);
        Time++;
    }
}

void Receiver(void* Param)
{
    ptr_t Data;
    while(1)
    {
        RMP_Thd_Rcv(&Data, RMP_SLICE_MAX);
        RMP_LOG_S("Received ");
        RMP_LOG_I(Data);
        RMP_LOG_S("\n");
    }
}
Both sender and receiver are ordinary threads, created before scheduling:
RMP_Thd_Crt(&Thd_1, Sender,   &Stack_1, sizeof(Stack_1), 0, 1, 5);
RMP_Thd_Crt(&Thd_2, Receiver, &Stack_2, sizeof(Stack_2), 0, 1, 5);
The same pattern works with a counting semaphore:
void RMP_Init_Hook(void)
{
    RMP_Sem_Crt(&Sem_1, 0);
    RMP_Thd_Crt(&Thd_1, Sender,   &Stack_1, sizeof(Stack_1), 0, 1, 5);
    RMP_Thd_Crt(&Thd_2, Receiver, &Stack_2, sizeof(Stack_2), 0, 1, 5);
}

void Sender(void* Param)
{
    while(1)
    {
        RMP_Thd_Delay(30000);
        RMP_Sem_Post(&Sem_1, 1);
    }
}

void Receiver(void* Param)
{
    while(1)
    {
        RMP_Sem_Pend(&Sem_1, RMP_SLICE_MAX);
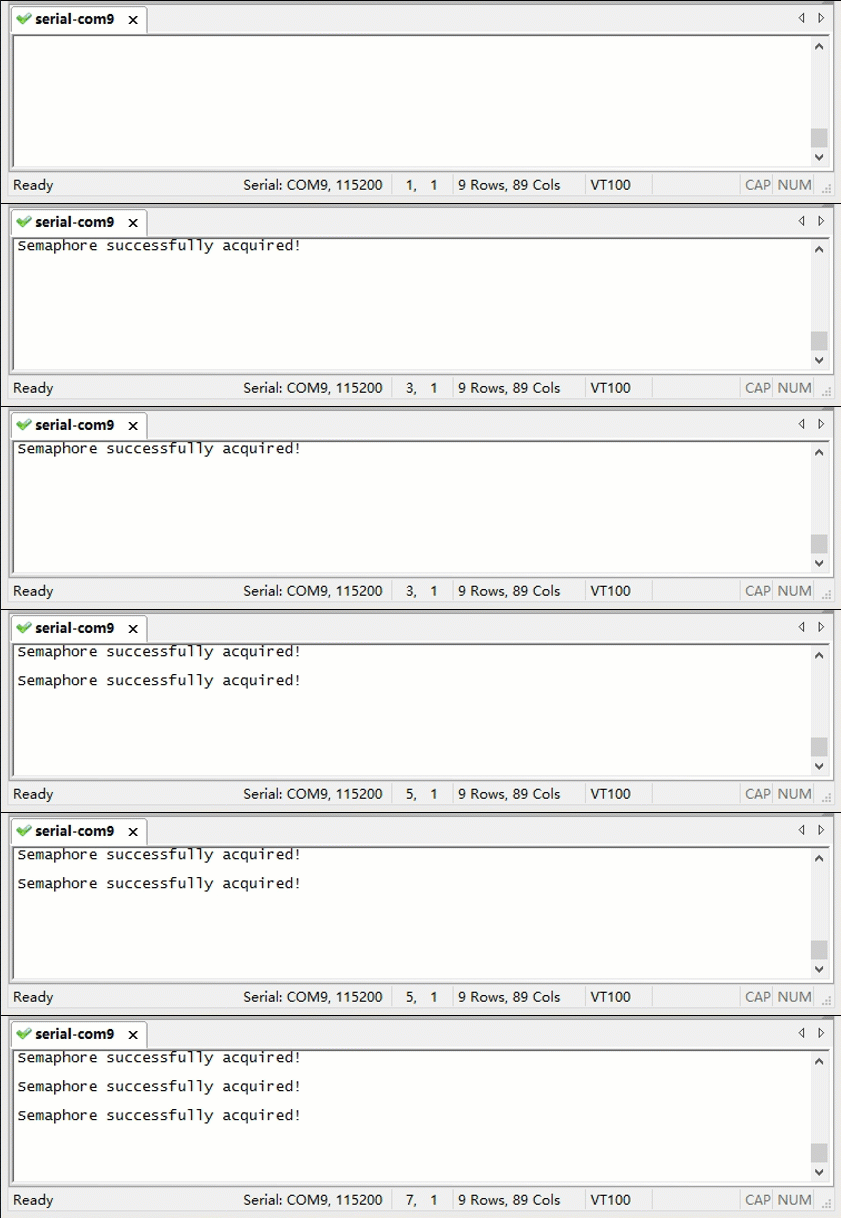
        RMP_LOG_S("Semaphore successfully acquired!\r\n\r\n");
    }
}
The kernel also provides FIFOs, message queues, blocking message queues, periodic alarms and a memory pool:
/* Memory pool: initialise once, allocate and free without fragmentation */
RMP_Mem_Init(Pool, Pool_Size);
Mem = RMP_Malloc(Pool, Alloc_Size);
RMP_Free(Pool, Mem);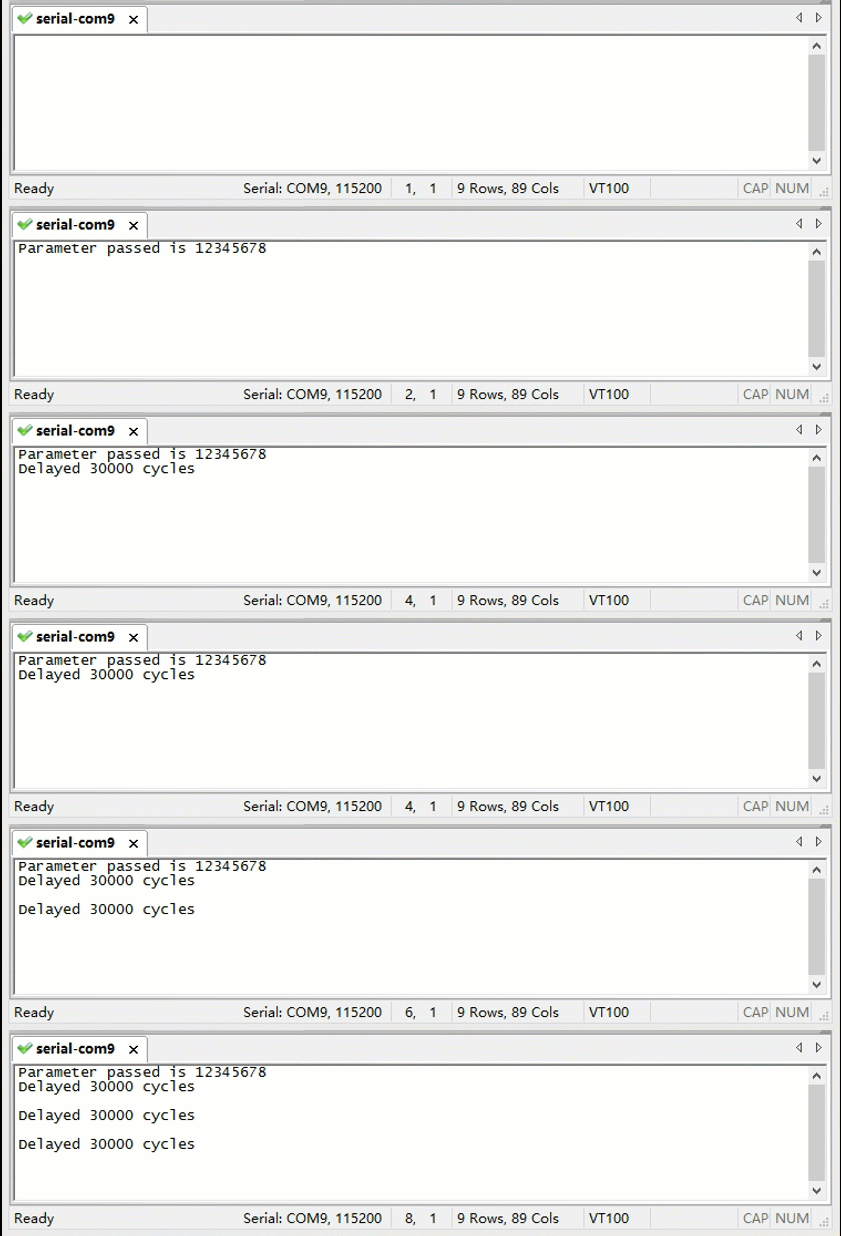
Deployment
Before putting RMP into a product, read the user manual and configure the kernel macros for your platform — tick source, scheduler policy, stack checking and the optional subsystems are all compile-time choices. The defaults are conservative, but they are not a substitute for reading the manual.
Porting with a coding agent
The platform layer is intentionally small: a context switch, a tick source and a handful of register accessors. With a mainstream coding agent, porting RMP to a new architecture and toolchain is a bounded exercise — the project estimates roughly 10M tokens for a complete, tested port.
Where next
- Benchmarks — what the numbers mean and how they were taken.
- Supported Ports — every chip and project folder.
- Why RMP — the verification plan and the deliberate limits.
- Community — how to contribute, and where to ask questions.